> For the complete documentation index, see [llms.txt](https://ce-docs.keywordrush.com/llms.txt). Markdown versions of documentation pages are available by appending `.md` to page URLs; this page is available as [Markdown](https://ce-docs.keywordrush.com/getting-started/quickstart.md).
# Quickstart
From an empty install to your first monetized page — the whole Content Egg workflow in four steps.
Content Egg does a lot, but it always works in the same three stages: **Connect** a product source, **Publish** those products into your pages, and **Scale** when you're ready. This page walks you through each one once, start to finish. Every step links to a full guide if you want the detail.
{% hint style="info" %}
**Before you start:** Content Egg Pro is installed and your license is activated — see [**Installation & Licensing**](/getting-started/installation.md).
{% endhint %}
***
## Step 1 · Connect a product source
*Stage: **Connect** — get product data into WordPress.*
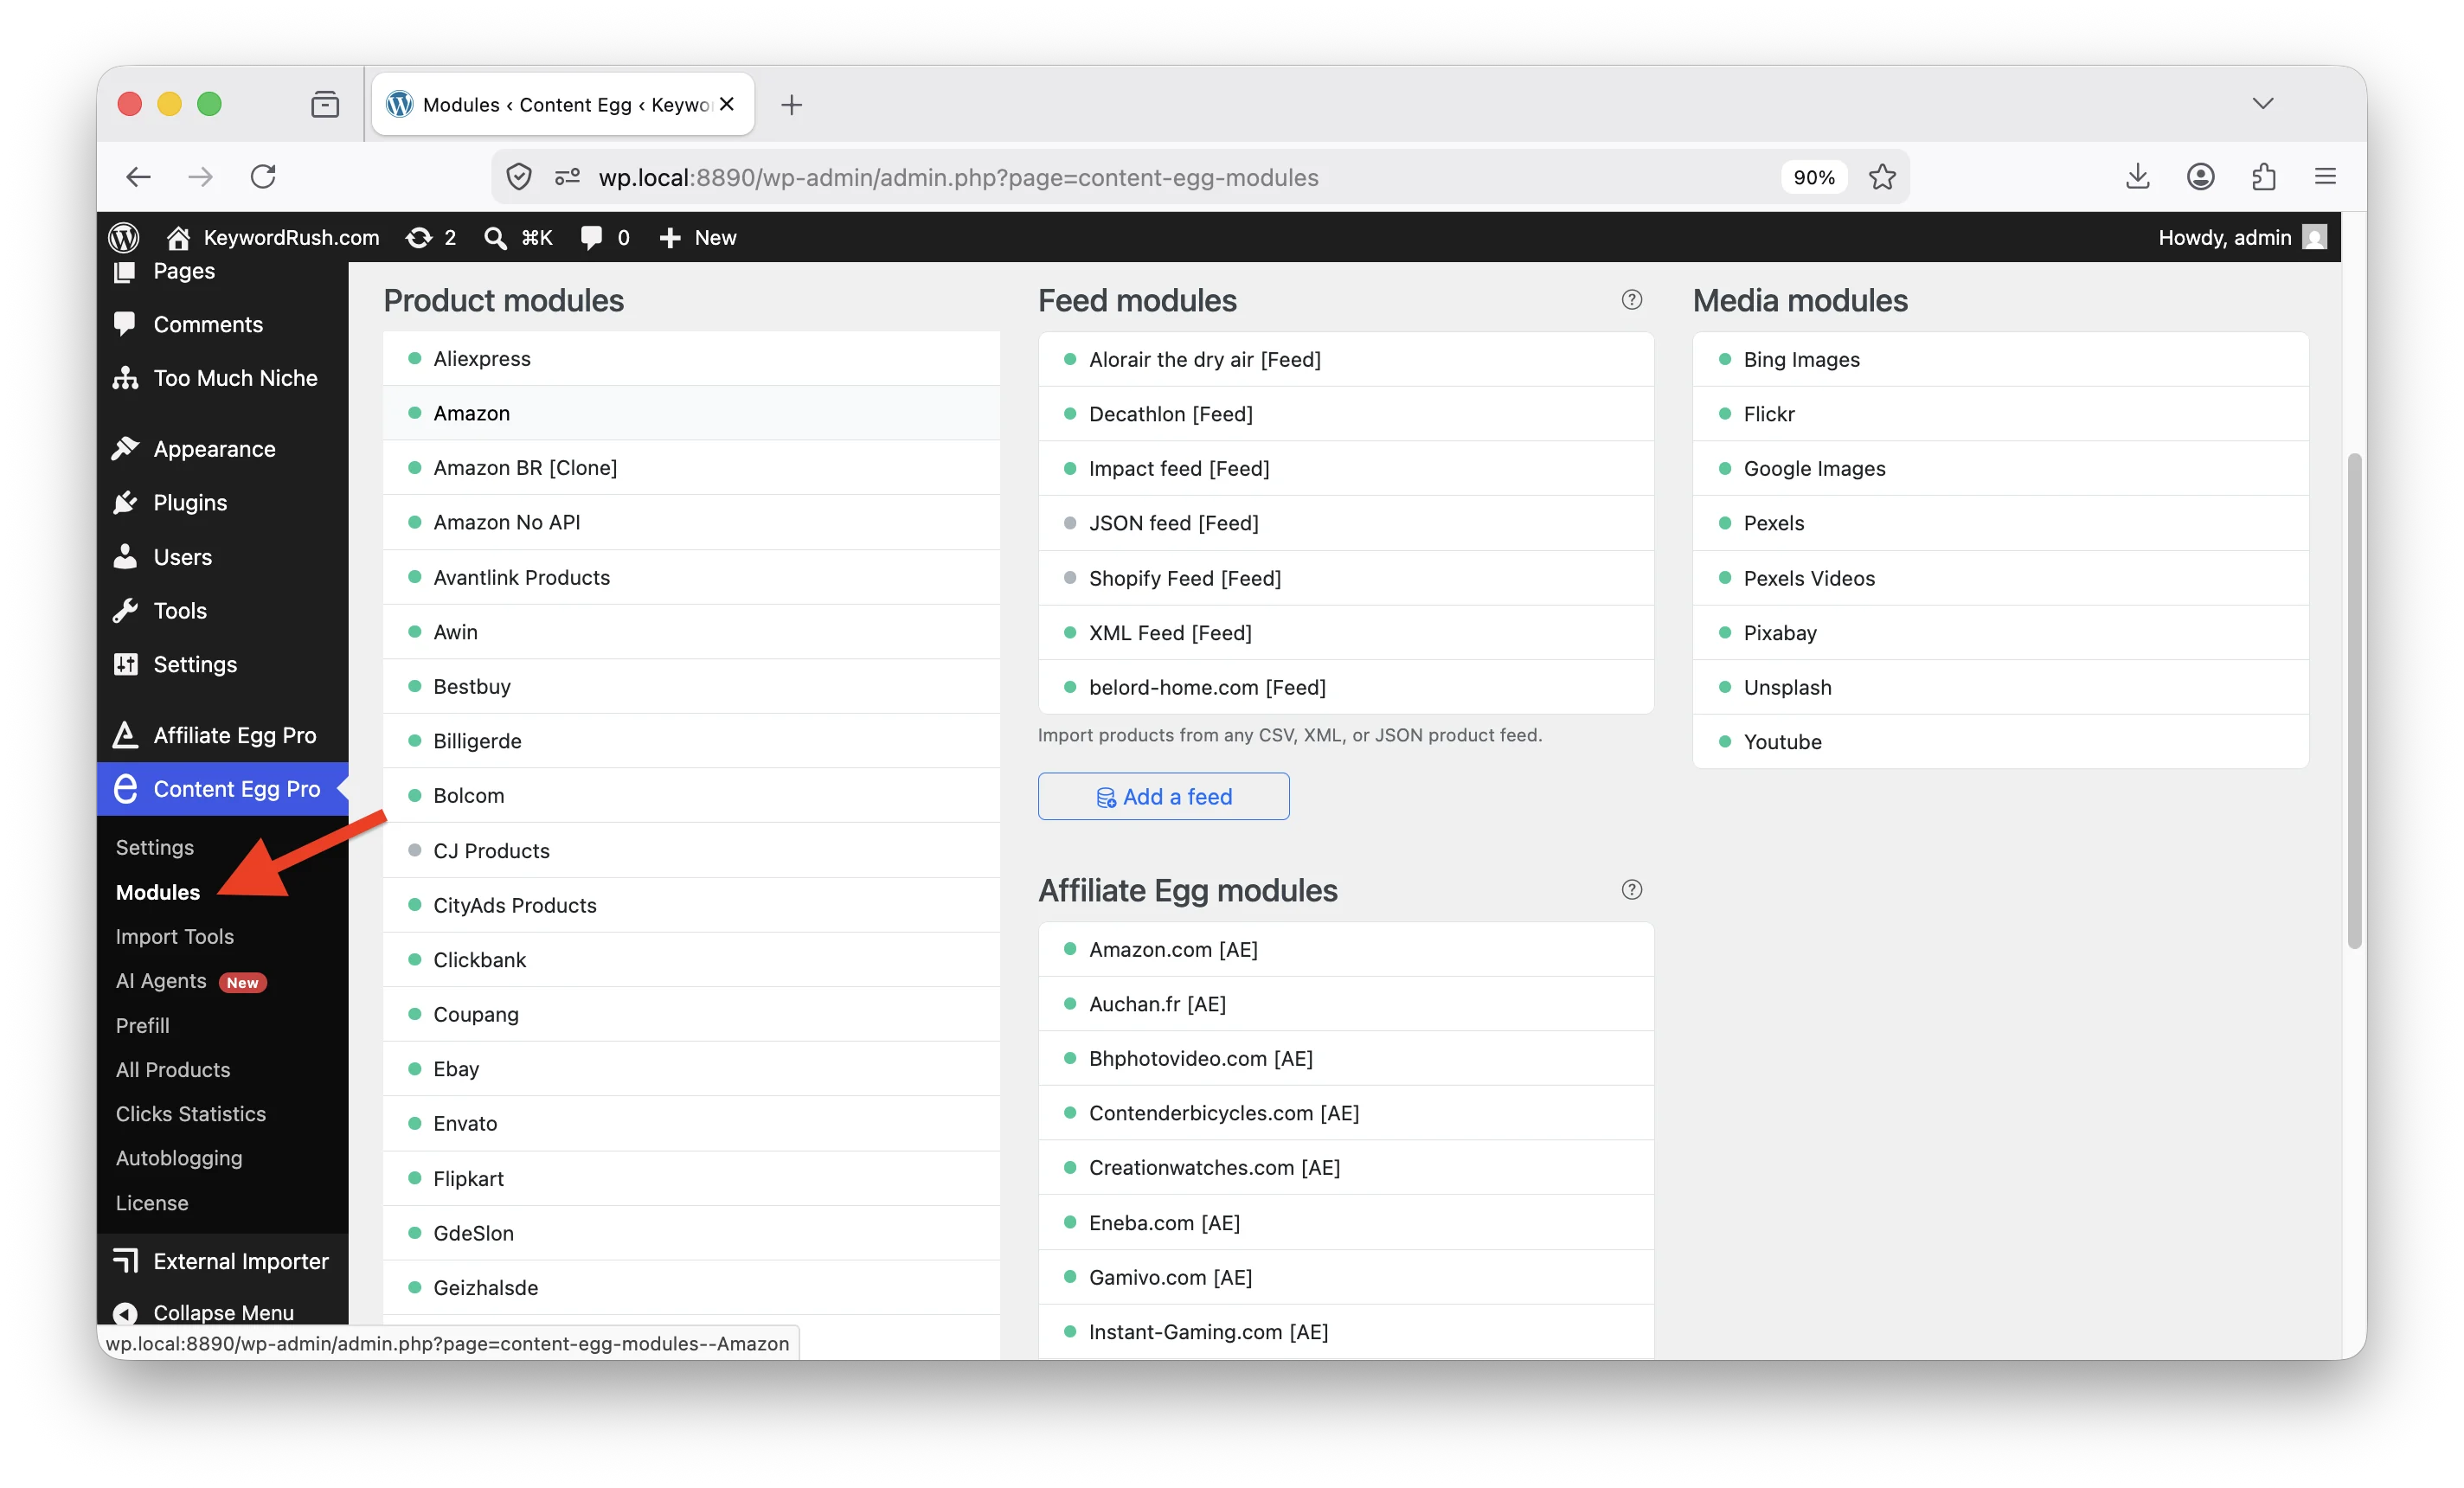
Everything starts with a source of products. Go to **Content Egg → Modules** and activate one:
* **An affiliate network module** (for example Amazon, eBay, or AliExpress) — enter your API keys or affiliate ID and save.
* **A product feed** — if your merchant provides a CSV, XML, or JSON feed, connect it instead.
Activate a module and enter its keys
**You should now see** the module active on the Modules screen, ready to search.
📖 Learn more: [**Modules**](/modules/general-information.md) · [**Feed modules**](/modules/feed-modules.md)
***
## Step 2 · Add products to a post
*Stage: **Publish** — attach real products to your content.*
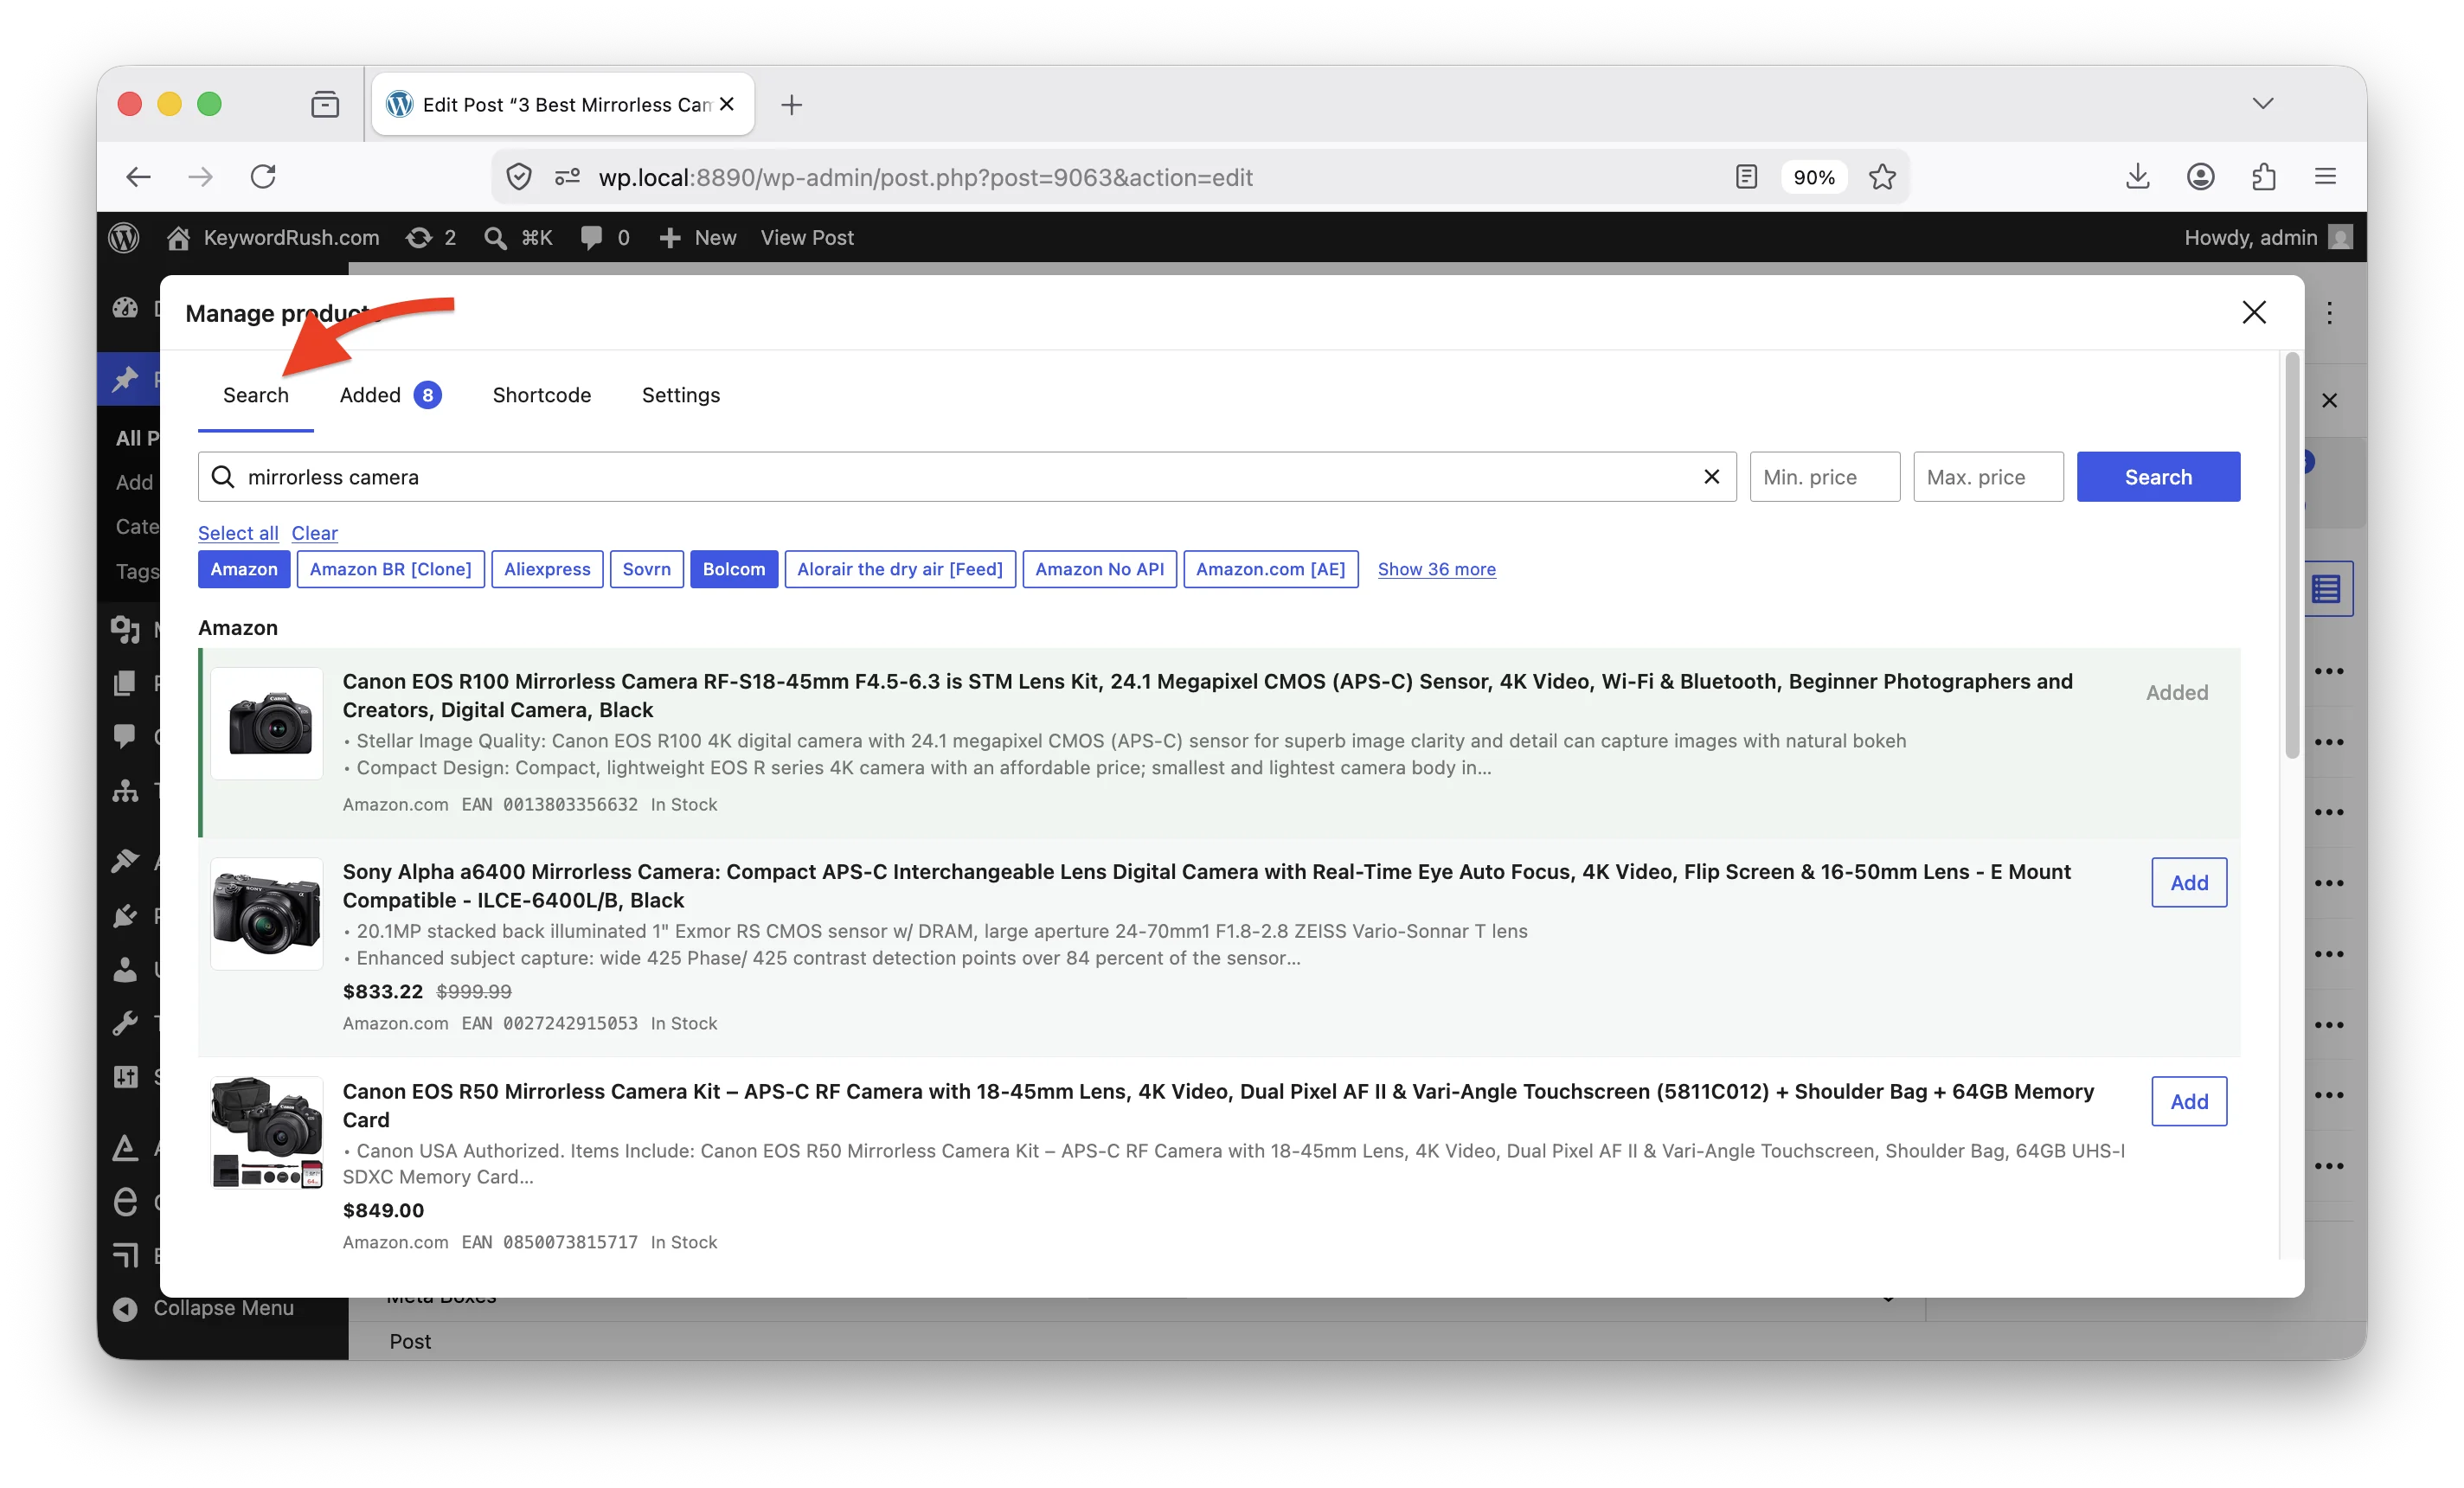
Open a post (or create a new one) and find the **Content Egg** panel (the egg icon, top-right). Click **Search & add products…**, type a keyword, and click a result to attach it. Content Egg pulls in the title, image, price, and link for each product.
Search for products and attach them to your post
**You should now see** your chosen products saved to the post, with live prices and affiliate links.
📖 Learn more: [**How to add products**](/set-up-products/how-to-add-products.md) · [**Search & Import**](/set-up-products/import-tools/search-and-import.md)
***
## Step 3 · Display them
*Stage: **Publish** — turn the products into something readers act on.*
Choose how the products appear on the page:
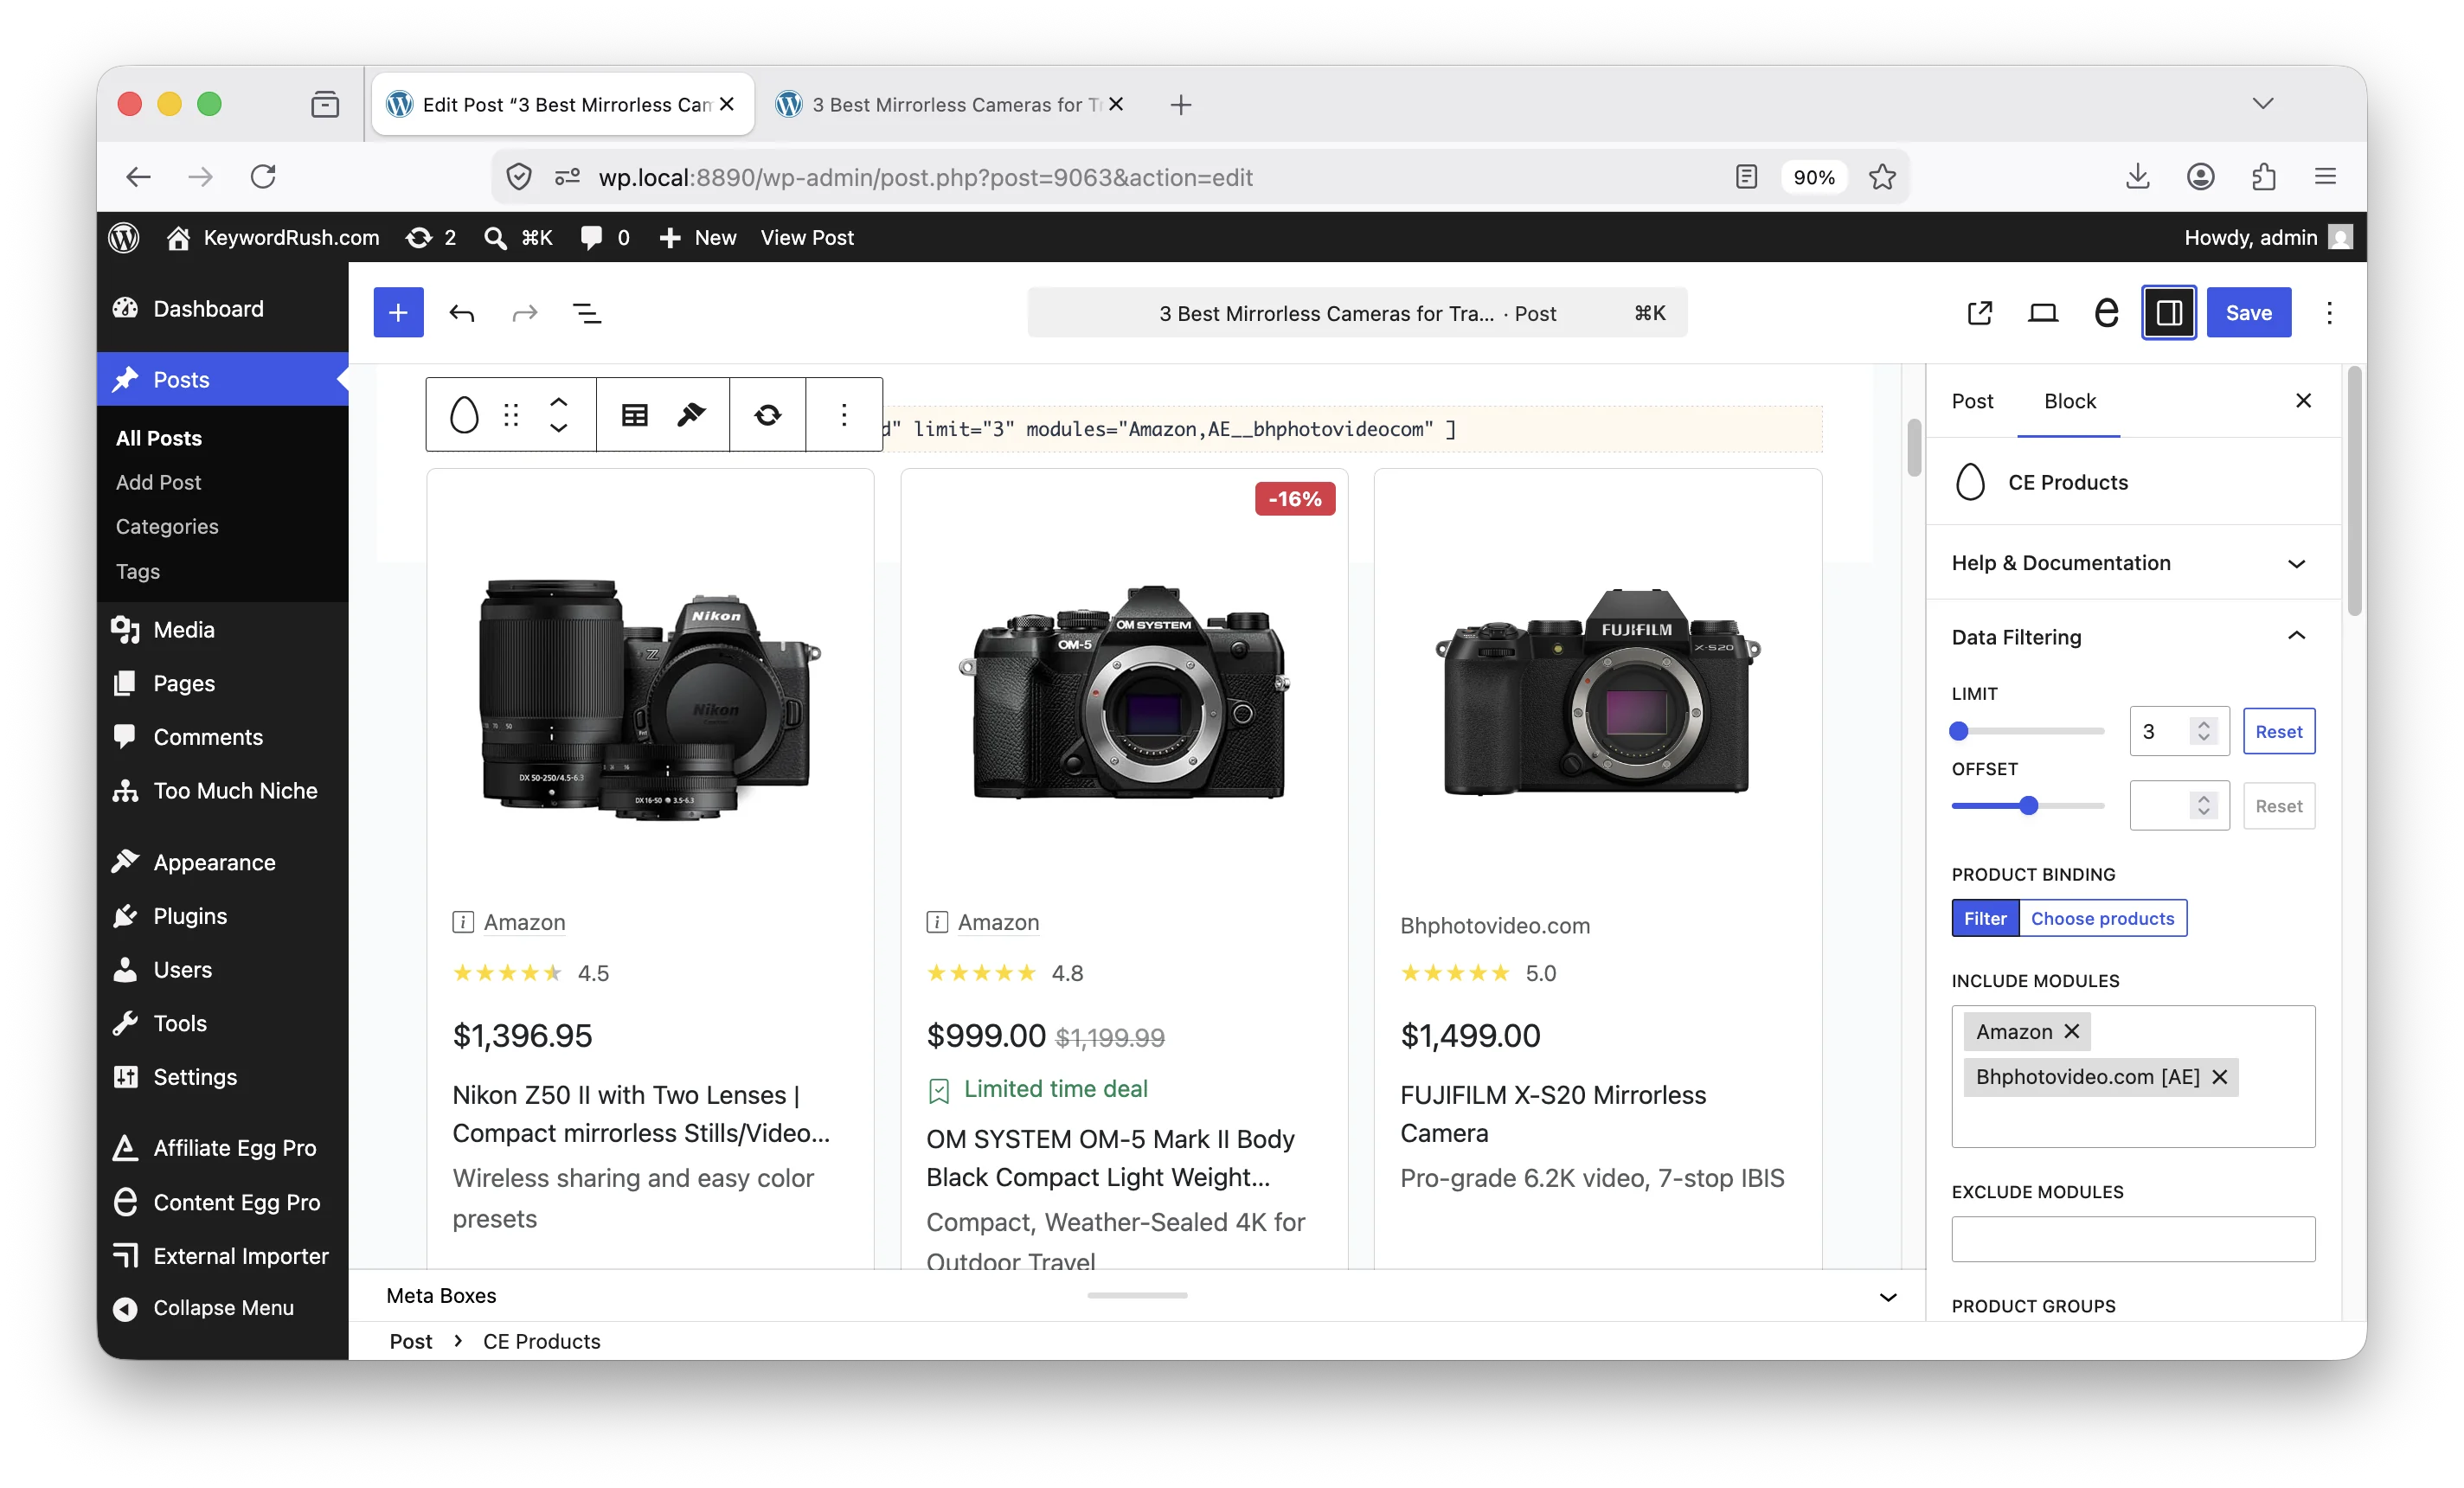
* **CE Products block** — insert it, pick a template, and it shows your products (list, grid, comparison table, and more). Prices stay current on their own. Best when you're writing the article yourself and just want to show products.
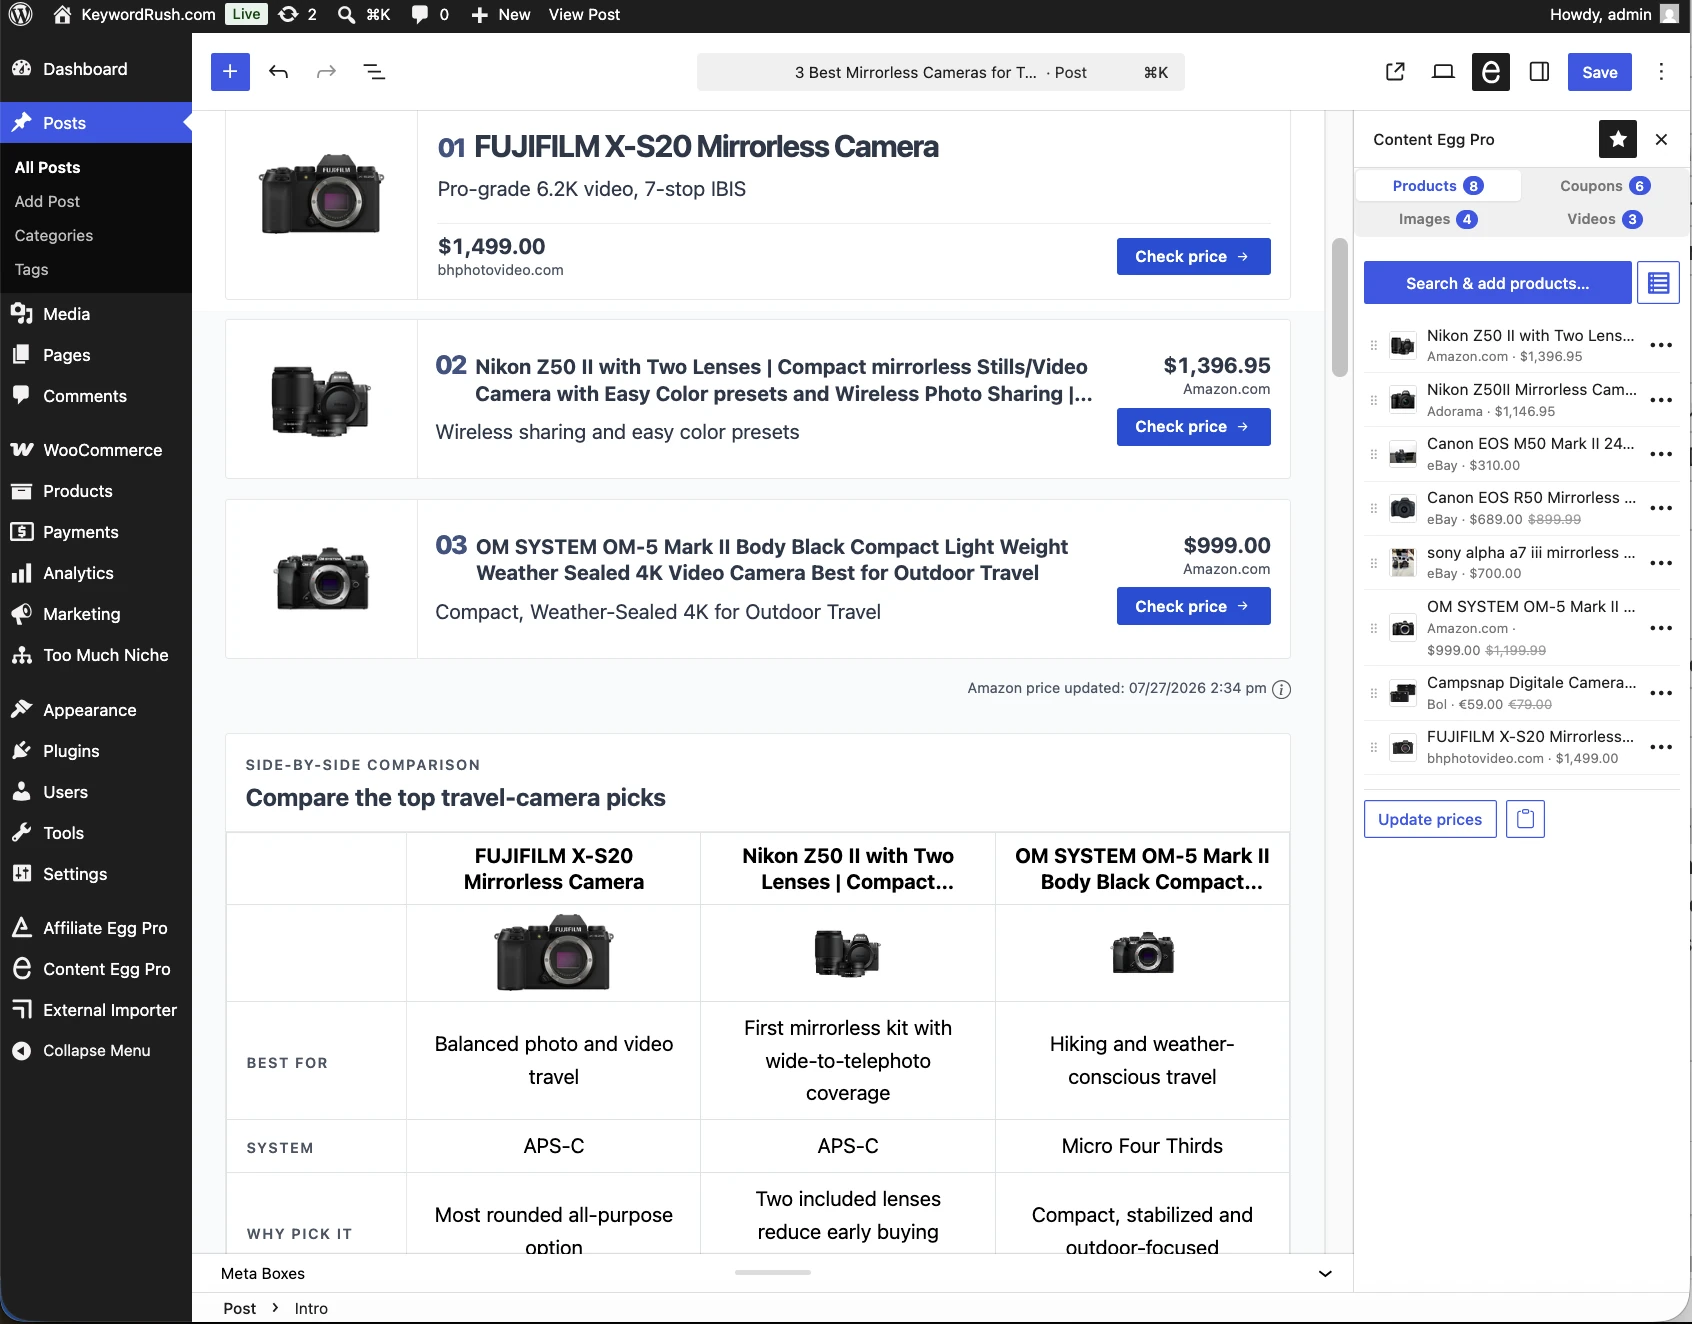
* **Egg Blocks** — build a full review or roundup from editorial blocks (intro, comparison table, pros & cons, verdict, FAQ). Best for structured articles, and the format an AI assistant generates for you.
Display products with the Products block or Egg Blocks
**You should now see** your products rendered on the front end — publish the post and you have a working, monetized page.
📖 Learn more: [**Gutenberg product blocks**](/frontend/gutenberg-blocks.md) · [**Egg Blocks**](/egg-blocks/introduction.md)
***
## Step 4 · Scale it (when you're ready)
*Stage: **Scale** — do it in volume, or hands-off.*
Once your first page works, you can go faster:
* **Import tools** — create many product pages at once from keyword lists or feeds, and keep prices updated automatically.
* **Agent Access** — connect ChatGPT, Claude, or any AI assistant and ask it, in plain language, to find products and build whole pages for you. It saves drafts by default, so nothing goes live until you approve it.
Let an AI assistant find products and build pages for you
📖 Learn more: [**Import tools**](/set-up-products/import-tools.md) · [**Agent Access**](/ai-agents/ai-agents.md)
***
That's the whole workflow. From here, follow the linked guides for anything you want to go deeper on — or head straight to [**Agent Access**](/ai-agents/ai-agents.md) and let an assistant do the heavy lifting.